The 125 x 125 badge is currently one of the most popular advertising card size in the blogosphere. If you are unsure of what a 125 x 125 badge looks like there are several in the side bar including under the I Also Author section. There are online sources that will make these badges for you but they are generic, restricted to their designs and fonts. Your 125 x 125 is your advertising card so you want it to be unique, something that will serve as your brand. Design is important as the badge should not be changed once it has been in use for any length of time. Changing the badge confuses readers who visit your blog via your badge.
A plain 125 x 125 is surprisingly quite easy to make. Here are the steps using Photoshop but would be similar in any photo editing software:
- Create a new image in any square size you want but big enough to see what you are doing, so 600 px x 600 px.
- Create a new layer then fill with colour of your choice using the colour pallet or hex number - Edit/Fill then choose black, white or colour, double click on colour to get to colour pallet and hex number
- If desired add a stroke in desired colour - Edit/Stroke, choose colour and pixel size desired
- Use text tool to add any desired text. Position test as desired. Add shadow by Layer/Layer Style/Drop Shadow, change colour of drop shadow as desired.
- Merge layers - Layer/Merge
- Apply bevel if desired - duplicate layer, working on duplicated layer choose Layer/Layer Style/Bevel and Emboss, choose desired bevel
- Flatten image - Layer/Flatten
- Resize image - Image/Image Size, be sure constrain proportions is checked, change width and height to 125 and 125 respectively.
- Save your image - File/Save for Web, name file and save to folder of your choice
Garden Gnome
©2006-2010


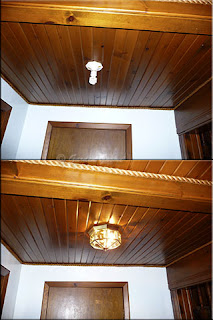 Light Fixture
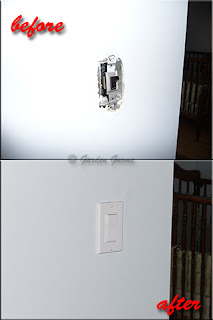 New Outlet

 Painted
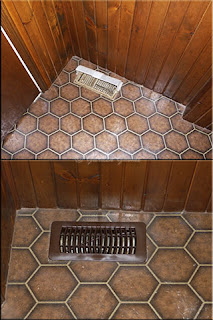 Plastic
 Room Staging
 Spot Shot
 Before & After
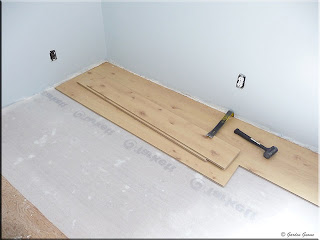 In Progress
 Installed
 New Light Fixture
 Colourized
 Texturized
 Laminate Flooring
 Before & After
 Black & White
 Detail Sander
 Painted
 Painted


