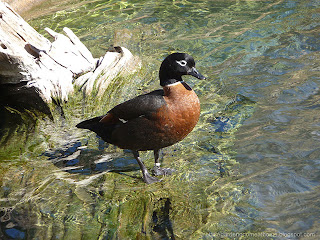
We are back home at our primary residence after spending a month away mostly at our vacation home. I took a lot of pictures while away so have been busy getting some of them ready for using on my blogs and digital scrapbooking. I decided to use a unifying theme for the blog pictures that involved adding a rather simple stroke frame.
- click on the eyedropper tool
- select any colour of interest from the picture usually from the subject of interest; I chose a reddish brown (A3521D) from the duck's chest
- selecting the colour will place that colour into the foreground colour box under the tools
- working on the duplicate layer with the colour choice set to foreground, click on edit then stroke
- in the pop-up, set the stroke width to 140 px making sure the foreground colour appears in the box (it should automatically), location set to center, blending normal, opacity 100% then click ok - this will apply the stroke in the eyedropper colour (don't worry as it will look a little odd until you do the next step)
- working on the same layer change the foreground colour to black, click on edit then stroke
- in the pop-up, set the stroke width to 100 px making sure the foreground colour is black, location set to center, blending normal, opacity 100% then click ok
- your frame is now complete with a narrow matte of the highlight colour
- resize your image if desired
- flatten you image and save as or save for web depending on your desired use.
Garden Gnome
©2006-2011


0 comments:
Post a Comment